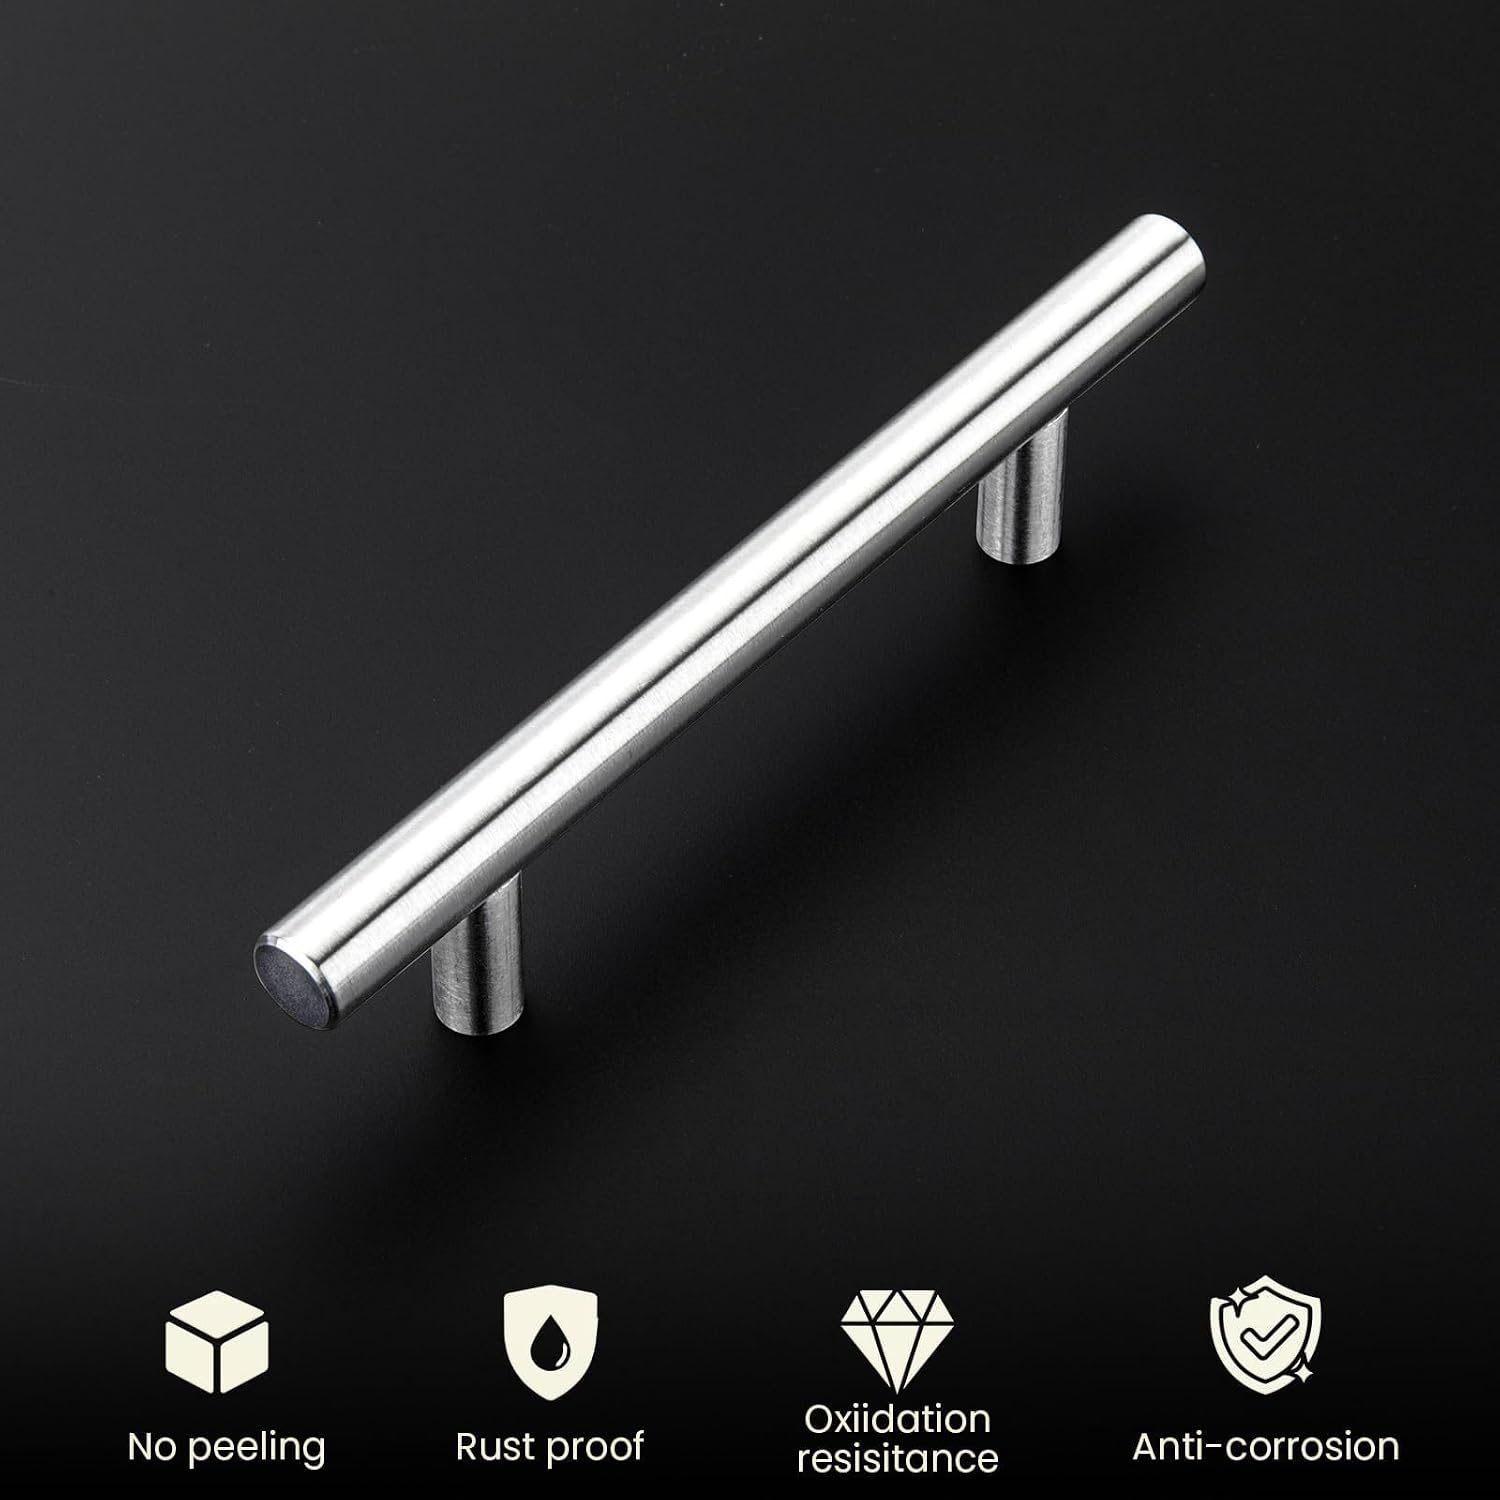
If you’ve ever walked into a kitchen and thought, something looks different — did they remodel? there’s a good chance the answer was just new hardware. Cabinet hardware is the physical handles, knobs, and pulls attached to your cabinet doors and drawer fronts. It’s one of the cheapest cosmetic upgrades in residential renovation, and it punches well above its price class. A full kitchen swap — replacing every pull on every door and drawer — can run under $60 using packs from brands like Ravinte, Homdiy, and Probrico, and reviewers across Houzz and Google consistently land on the same phrase: looks more expensive than it is. This guide is for anyone with a kitchen project in hand right now, whether you’re staging a flip, finishing a budget renovation, or sourcing across multiple units and trying to hold your materials line. We’ll walk through the math, the aesthetic logic, the installation gotchas, and the decision rules that tell you exactly which direction to go.
The Hardware Math: What a Full Kitchen Actually Costs
Let’s start with the numbers, because this is where most guides let you down. They’ll quote a per-piece price without telling you how many pieces you actually need.
A standard 10×10 kitchen — the industry benchmark layout used to compare cabinet line pricing — typically includes:
- 12 upper cabinet doors
- 4 lower cabinet doors
- 6 drawer fronts
- Total hardware count: ~22 pieces (assuming all doors get pulls and all drawers get pulls; knobs on doors reduce this slightly)
At a 10×12 layout, add roughly 4–6 more doors and 1–2 drawers, bringing you to 27–30 pieces.
By the numbers:
| Layout | Est. Hardware Count | Cost at $1.50/piece | Cost at $2.00/piece |
|---|---|---|---|
| 10×10 | 22 pieces | $33 | $44 |
| 10×12 | 28 pieces | $42 | $56 |
| Full galley (30 pc) | 30 pieces | $45 | $60 |
Budget pull packs from Homdiy, Ravinte, and Probrico are typically sold in sets of 10, 15, 25, or 30 — which means a single pack purchase in the 25–30 unit range covers most kitchens in one order. Per Apartment Therapy’s 2024 guide on cabinet hardware, the $1–$3 per-pull tier has expanded significantly in the last three years, with finish quality that now closely mirrors mid-range offerings priced at $6–$10 per piece at major home improvement retailers. Reviewers who did full-kitchen swaps on these lines frequently note the final result looks comparable to what they’d priced at 3–4x more in-store.
The Aesthetic Case: Why Matte Black on White Shaker Dominates
If you’ve spent any time reading hardware reviews, one pairing comes up more than any other: matte black pulls on white shaker cabinets. It’s not a coincidence. The contrast is high-impact, reads as current without being trendy, and photographs well — which matters enormously for listings, staging photos, and before/after documentation.
This Old House’s cabinet hardware guide notes that matte black has held its ground as a dominant finish choice through 2024–2025 because it pairs cleanly with the white-and-light-wood kitchen palettes that dominate mid-range renovation. Unlike brushed nickel, which can read as dated on older stock cabinetry, or chrome, which can clash with warm-toned Shaker profiles, matte black is effectively finish-neutral — it works across warm whites, cool whites, gray-painted boxes, and natural oak.
Houzz’s 2024 report on kitchen hardware purchasing behavior confirms that the knob-on-door, pull-on-drawer combination remains the most popular layout among homeowners doing partial or full hardware refreshes — and that aesthetic consistency within a single product line matters significantly to buyers. This is where buying from a single pack (rather than mixing sources) pays off: the finish batch stays consistent, which matters more than most buyers expect when every piece is visible simultaneously.
One detail worth naming: flat black and matte black are not the same finish. Matte black typically has a very slight sheen — just enough to catch light at certain angles and give the pull visual depth. Flat black is fully non-reflective, closer to a chalkboard surface. Installed, the difference is subtle but real: matte black tends to read as more refined; flat black can look more industrial or utilitarian. If you’re sourcing a full kitchen and mixing pieces from different orders, confirm the finish descriptor before buying — reviewers across multiple product lines flag this as a source of frustration when pulls from separate packs don’t match under kitchen lighting.
The Installation Details That Actually Derail Projects
Hardware swaps sound like a one-afternoon job. Usually they are. But there are three specific friction points that come up repeatedly in owner reviews, and none of them get mentioned in most buying guides.
1. The Shadow Problem: Old Hardware Outlines on Painted Doors
This is the one that surprises people most. If your existing cabinets are painted — especially if they’ve been painted multiple times, as is common with flipped properties or older stock cabinetry — removing the old hardware often reveals a visible outline or shadow where the previous pull sat. The paint around the hardware was slightly shielded from cleaning products, UV exposure, and general wear, and the color reads differently.
At least two distinct reviewer threads on Houzz flag this specifically, noting they needed touch-up paint after the hardware swap before the kitchen looked finished. If you’re working on a painted cabinet surface, budget time (and paint) for touch-ups. Pull the old hardware before your final staging walk-through, not on the day of the shoot.
2. The Hole Spacing Question: Will New Pulls Fit Existing Holes?
The industry standard for cabinet pull hole spacing (called center-to-center, or C-to-C — the distance between the two screw holes) is 3 inches (76mm). The vast majority of stock and RTA cabinetry ships with 3-inch C-to-C pre-drilled holes. If you’re buying pulls in the 3-inch C-to-C size, they will drop directly into existing holes on virtually all Hampton Bay, SEKTION, Fabuwood, and comparable lines without any new drilling.
Where this gets complicated: if you’re upgrading to longer bar pulls — 5-inch, 6.25-inch, or 7.38-inch C-to-C — you will need to drill new holes. The old 3-inch holes become irrelevant; they’ll be hidden behind the pull backplate on most designs, but confirm this against the specific pull’s dimensions before ordering. Family Handyman’s installation guide recommends using a hardware jig (a physical drilling template) for consistent placement across all doors. The Ravinte 7.38-inch pull pack is a standout here: multiple reviewers single out the included measuring template and drill bit as the feature that made installation accessible to first-timers. That’s a real spec differentiator — buying a pack that includes the jig removes the most common installation failure mode for novice installers.
3. Screw Length and Thick Shaker Doors
Standard cabinet pull screws are sized for 3/4-inch door thickness — which covers most flat-panel and basic Shaker doors. But if your cabinets have a raised-profile Shaker door with a routed edge detail, or if the builder applied a thick MDF overlay, your door may run closer to 7/8 inch or even 1 inch. The included screws in most pull packs will be too short to grab properly, leaving you with pulls that wobble or pull out under repeated use.
The fix is simple — M4 machine screws in the appropriate length are available at any hardware supplier — but you need to catch it before install, not after. Measure your door thickness before the hardware arrives. If you’re over 3/4 inch, order 1-inch or 1-1/4-inch M4 screws alongside the pulls. This is a minor cost (usually under $5 for a full kitchen’s worth) that prevents a frustrating callback.
Decision Rules: Which Direction to Go
We’ve covered the math and the installation logic. Here’s the practitioner-level decision frame:
If you’re staging a flip or rental refresh on a tight materials budget: The sub-$60 full-kitchen approach works. Matte black on white or gray painted boxes is the lowest-risk aesthetic choice — it reads as intentional and current in listing photos, and it’s unlikely to alienate any buyer segment. Order a 25-or-30-piece pack from a single SKU so your finish is batch-consistent. Ravinte and Homdiy have the deepest review pools for this use case.
If you’re finishing a mid-range renovation (RTA or semi-custom boxes, $150–$350/LF range): Hardware at this tier is still a reasonable place to hold the budget line, especially if you’ve invested in finish quality on the box itself. A $55 hardware spend against a $12,000 cabinet budget is noise. The visual payoff is real; the aesthetic risk is low. Just match the finish to your fixture package — matte black works with virtually everything except warm brass or oil-rubbed bronze fixture suites, where you’d want to source a matching finish.
If you’re sourcing across multiple concurrent units: Buy in bulk from a single SKU to guarantee finish consistency across properties. Check pack-size options — most lines offer 25 or 30-piece sets that cover a standard 10×10 kitchen in a single order. Consistency across units also simplifies your materials tracking.
If your existing doors are painted and you’re uncertain about the shadow problem: Pull one test piece of hardware before committing to the full swap. If there’s a visible outline, plan for touch-up paint before photography. This is not a reason to avoid the upgrade — it’s just a sequencing issue.
Frequently Asked Questions
Will these pulls cover the marks or outlines left by my old hardware? Usually not fully, and this depends on pull geometry. A wider backplate or a longer bar pull may span the shadow zone and cover it visually, but if the old knob location doesn’t align with the new pull’s mounting points, the outline may be partially visible. Budget for touch-up paint on painted surfaces regardless.
Do I need to drill new holes, or will 3-inch center pulls fit my existing cabinet holes? If you’re buying 3-inch C-to-C pulls, they will fit the pre-drilled holes on virtually all stock and RTA cabinetry without modification. Longer pulls (5-inch C-to-C and above) require new holes. The old holes will typically be hidden behind the longer pull body, but verify against your specific pull’s specs.
How many pulls do I need for a typical 10×10 kitchen? Plan for approximately 22 pieces — 12 upper doors, 4 lower doors, and 6 drawers. A 25-piece pack covers a standard 10×10 with a few spares. For a 10×12, budget 28–30 pieces.
Are the included screws long enough for thick Shaker-style doors? Standard included screws fit 3/4-inch door thickness. Raised-profile Shaker doors often run 7/8 to 1 inch. Measure before install and order longer M4 screws if needed — it’s a minor cost that prevents pull failure.
What’s the difference between matte black and flat black — do they look the same installed? They’re close but not identical. Matte black has a faint sheen that gives pulls visual depth under kitchen lighting. Flat black is fully non-reflective and reads more industrial. If mixing pieces from separate orders, confirm the finish descriptor is consistent — mismatched finishes are noticeable when all pieces are installed simultaneously.
Can I mix knobs on doors and pulls on drawers from the same Ravinte line and have them match? Yes, and this is a common and intentional configuration. Ravinte and comparable lines are designed to coordinate knobs and pulls within the same finish family. Per reviewers on Houzz, the finish consistency within a single product line holds up well across knob and pull formats — just confirm you’re ordering from the same SKU family, not mixing finish runs.